Today I trotted down to the allotment, marvelling at how changeable the British weather really is. Yesterday was showers and overcast. Today was boiling. Not dry heat which somehow is more tolerable but the sticky, oppressive heat that makes everything difficult. All the usual gang were there when I arrived and after a preliminary check of Pop, I sat down and joined in. It amazing how much you miss when you are away, even if it’s only a couple of days!

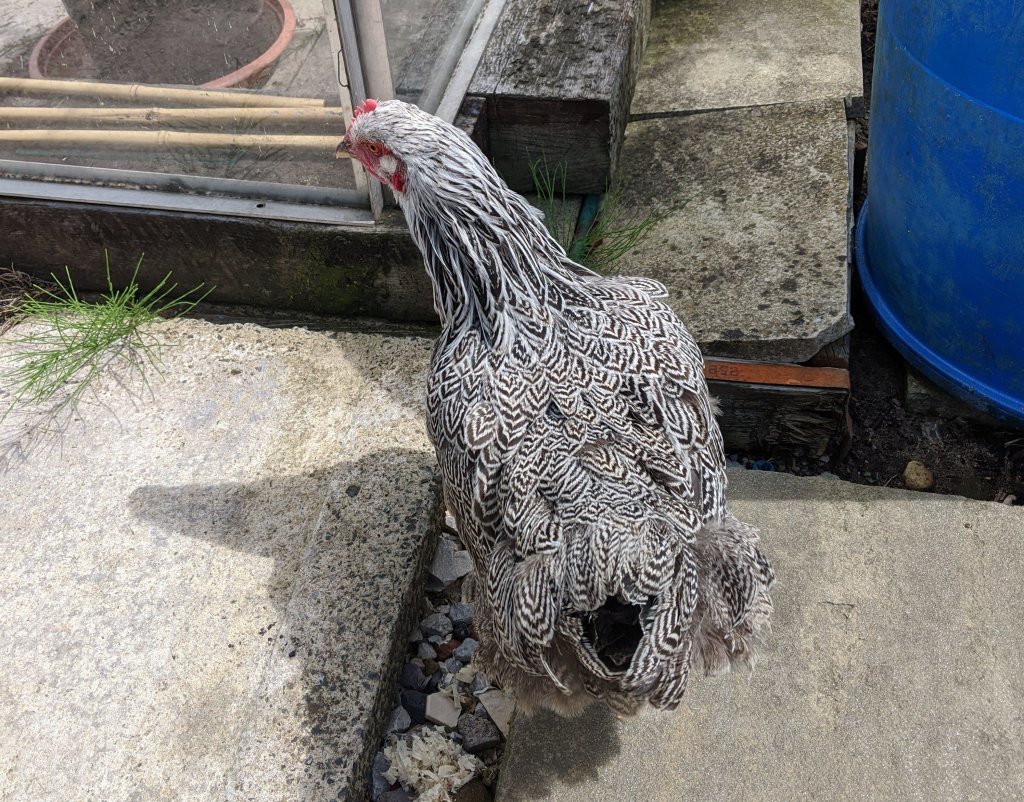
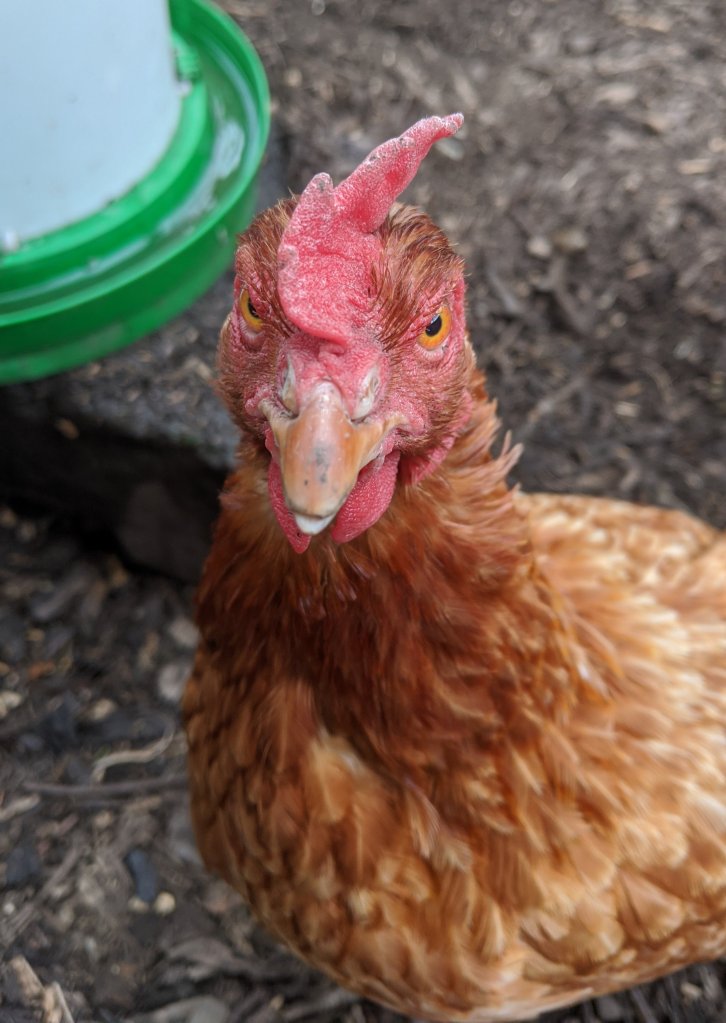
Before I had decided to do anything else, I went into the greenhouse to check on the girls. Pop had knocked over her water bowl so I went to refill it. As I put the water bowl down, I realised that Leia had taken advantage of my momentary lapse in concentration, and legged it out the greenhouse door! She is still rather flighty and nervy after her stint in the main coop and this makes her even harder to catch. Slowly, I followed her as she walked the length of the greenhouse and round to the sitting area outside Andy’s shed. I swooped down and grabbed her as she turned her back on me. From the shriek she let out, you would have thought I was murdering her. The wings were going hell for leather, the legs were thrashing and I was being deafened by her shrieks. Rather unceremoniously, I lobbed her back into the greenhouse and slammed the door. Cliff, who had been watching the entire escapade, sniggered as I stood there hot and disheveled. Why does no one else seem to have these issues with their chickens?!
I have been mulling over a rather interesting idea for one section of the plot. My plan to have different mini gardens in each section is all very well but I need ideas to pull it off. Over the past couple of weeks, I have been planning to create a bee garden – filled with bee favourites such as lavender and wild flowers. Easy enough to do but I wanted something to make it more obvious that it was a bee garden, not just a wildflower garden. Last week, my husband and I went to Snugbury’s – a local ice cream farm – and they are famous for making enormous straw sculptures. Previous years have included the London Eye, Peter Rabbit and a giant meerkat to name but a few. This year’s is a whopper bumble bee. Seeing how brilliant the bee sculpture was, I wondered whether there would be any way I could create something similar on my plot. Then it struck me. Willow. I could make a bee out out of willow! It obviously wouldn’t be 3D like Snugbury’s but surely I could work out a way of making a 2D one? Fairly certain that given enough time (and willow) I could make one, I was hit by another flash of inspiration. I could plant the willow bee frame with yellow flowers for the body, white for the wings and grow purple flowers around the outside to make it look like the bee was sitting on a giant flower. All very well in theory, but could I pull it off?

Rachael appeared shortly after I decided to make a start on feeding Leia and Pop. We had a good chat about succulents and I showed her how well the ones she had given me were doing. Even though we live so close to one another, it’s odd how little we seem to cross over. I took the opportunity to ask whether I might be able to use some willow cuttings from her plot to make a feature for one section of the plot. Very generously, she lent me her tree loppers and let me loose on her willow.

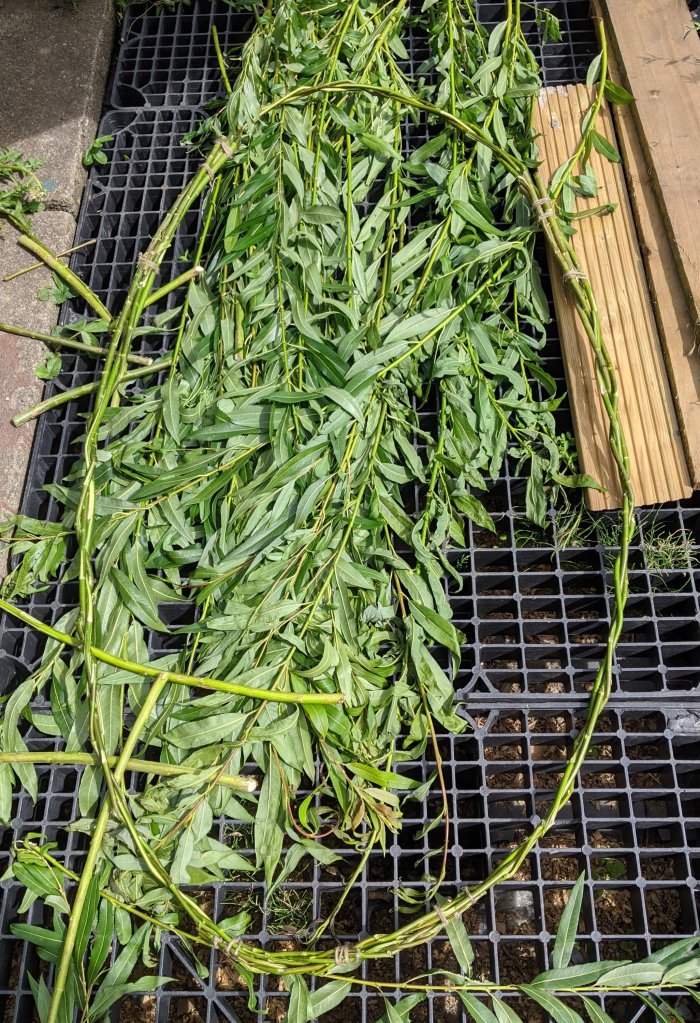
Thinking about the different thicknesses of willow I would need, I grabbed Rachael’s loppers and headed off to her main plot. For several years she has been growing willow for basket weaving. In order to do this, she has planted several different types of willow. I carefully chose long straight branches and tried to avoid any that were too thick as they would be difficult to work with. About fifteen minutes later, I had a good selection and dragged these back to the veranda. Next, I went to the broody coop where Rachael has some more willow. I cut another bundle of willow and headed back to the shed.

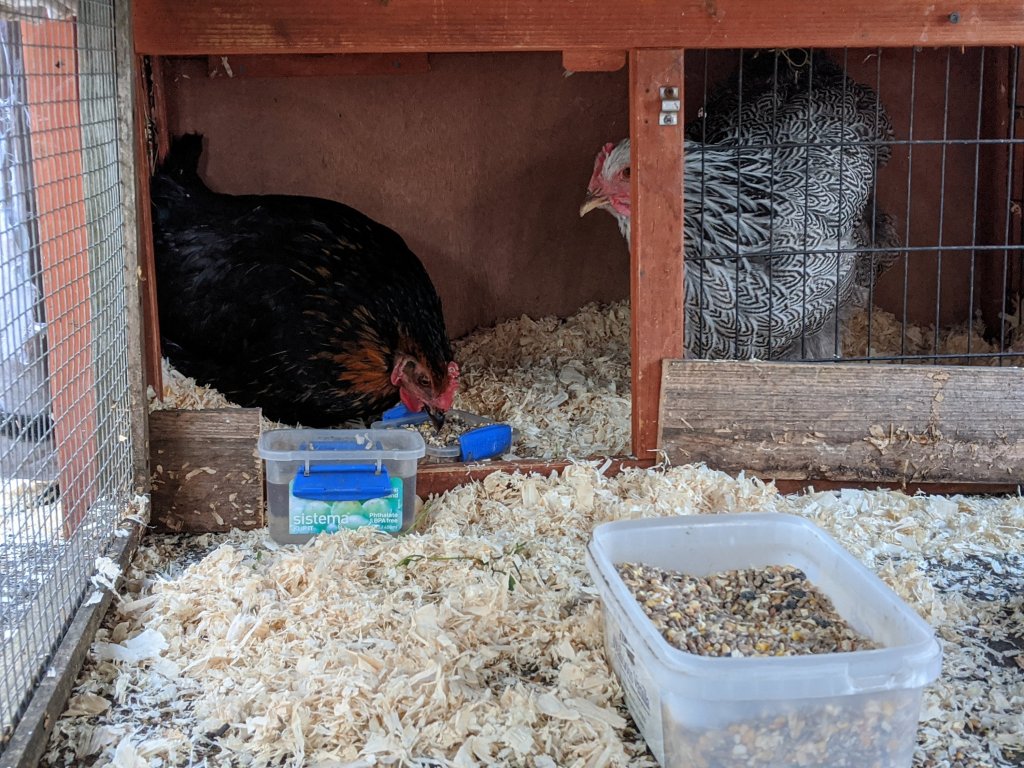
As I passed the main coop, I was shouted at. Rolling my eyes, I dumped off the willow and went down to the coop to sort the girls out. I gave them a tiny bit of bread which was hoovered up within milliseconds of it hitting the floor. Sunflower seeds and porridge oats followed as well as topping up their food bowl. Invariably, they had managed to tip it over. They seem to go through phases of tipping it over, I don’t know why. I refilled their water and left them with firm instructions to lay more eggs.
Back on the veranda, I selected three willow branches of about the same length and began to strip them of their leaves. According to Rachael, willow is easier to work with when freshly cut. Using some twine, I tied three bare willow branches together and began to plait them. Near the bottom, the branches were so thick, I couldn’t make the plait without breaking them so I tied off the end with some more twine. I now had one half of the body of my bee. I repeated the plaiting of another three willow branches and tied both plaits together. To keep it in an oval shape, I quickly added another small willow plait to widen the base of the bee.
I trimmed off any excess willow and these thick pieces gave me an idea. If I laid the bee flat on the soil, you would have to have a plan view to see the design. However, if I tilted the bee, you would be able to see it from the central path. The thick willow offcuts would be perfect to use to prop up the bee. It took quite a while to get the bee at the right angle and tie the props onto the bee frame. Standing back I was quite pleased with how it was progressing.

By now, it was swelteringly hot. I stopped to put up the sail so I could have a drink in the shade and cool off a bit. How was I to make the wings? In digging through the remaining branches, I found one that was a perfect Y shape. This had possibilities! If I put the base of the Y into the side of the bee and bent the top two prongs back on themselves, I could make two wings with one piece of willow. I stripped the leaves off and gave it a try. The only problem with it was the wings weren’t in proportion with the bee body. Oh well, it was worth a shot. Instead, I chose 4 long straight willow branches and attached them to the bee body, bending them into the right shape before tying them tightly into place. The wings were now the right size but had a tendency to drop onto the floor. This was quickly fixed by propping them up with thick offcuts of the willow.

Looking down at my remaining willow pile, I spotted the Y shaped branch. Could this be used for the antennae? I trimmed it down to size and attached it. I wasn’t entirely sure I like it but I have left it until tomorrow. The only problem I now faced was that my bee filled pretty much the entirety of the bee garden bed. Either I could make a new, smaller bee or I could fill the remaining space with different bee friendly flowers. I chose the latter as I was by no means certain I could build another bee to the right size.

Now for the tricky bit, the black stripes. I had planned to weave small willow strips and attach them to the bee frame. I am sure that an experienced willow weaver would have had no problem whatsoever in doing so, but I am not expert. Armed with enthusiasm and a childlike sense of adventure, I threaded shorter willow sections across the bee to make the stripes. Using the twine, I tied them together and to the frame. It was time consuming but with a bit more work, I think it will be quite effective. Frazzled by the heat, I retreated to the patio and sat watching Leia and Pop. Pop continues to eat and drink enthusiastically which is great.

My husband appeared shortly after I finished and helped me set up a temporary coop for Leia and Pop. The greenhouse is fine during the winter and for wet days but in this heat, with hotter weather forecast for tomorrow, they would be at high risk of heatstroke. We moved the nest box outside, filled it with new bedding and attached the run. As Pop is still unable to walk, we cut a small section of the front of the coop to enable her to get through when her legs are stronger. Without it, there would be no way she could move between the nest box and the run. Fresh water and topped up food were well received. To ensure that they had enough shade, I covered the top of the run with some fabric.

After dinner, we walked back down to the allotment to put Pop into the nest box. I made sure her water and food within beak range although this doesn’t stop Leia hogging from Pop’s bowl. Afterwards, we went for a walk around the site, it’s always interesting to see what other people are doing.

I like your creation, and the bee garden should be fun. Looking forward to seeing what flowers you choose…something long-blooming and even heights…
LikeLiked by 1 person
Thank you – I want to thicken the stripes across the body it I will need to cut some more willow to do that and it is far too hot to do anything today!
Yes I was thinking of taller flowers at the back where the bee is tilted up, with smaller ones at the front. I am also trying to work out a pattern for planting around the bee so it looks like it is on a flower
LikeLike