So after some online research and browsing of an Austrian webpage, I discovered chicken wheelchairs are actually a thing! Unfortunately, the only place I could potentially order one for Pop was in Australia and there weren’t posting to the UK currently. Undeterred, I asked on a chicken forum whether anyone else knew about wheelchairs and whether they worked for chickens. According to the replies, they do as it allows the chicken to retrain their legs without having to support their own weight. One lady said her hen, who had the same symptoms as Pop, taught her chicken to learn to walk again. Others recommended vitamin supplements which I have also ordered and will try.
Onto the wheelchair! A lovely lady from the chicken forum gave me step by step instructions to make one like hers. She had tried to buy from the Australian site with no luck. A quick dash around B&Q, Tool Station and Hobby Craft to source all the components for a mere £25. Getting the 3m long overflow pipe into the car was interesting but I got the car boot closed eventually!
To build one of these wheelchairs I used the following: 3m overflow pipe, 4 overflow bends, 4 overflow tees, 4 wheel castors, 4 castor cups, 6.5mm wooden dowel, 1m black corduroy fabric, scrap of red cotton fabric, 2m black bunting tape and plastic poppers. Key tools included small hand saw, file, drill with 6.5mm bit, scissors, sewing machine, measuring tape.


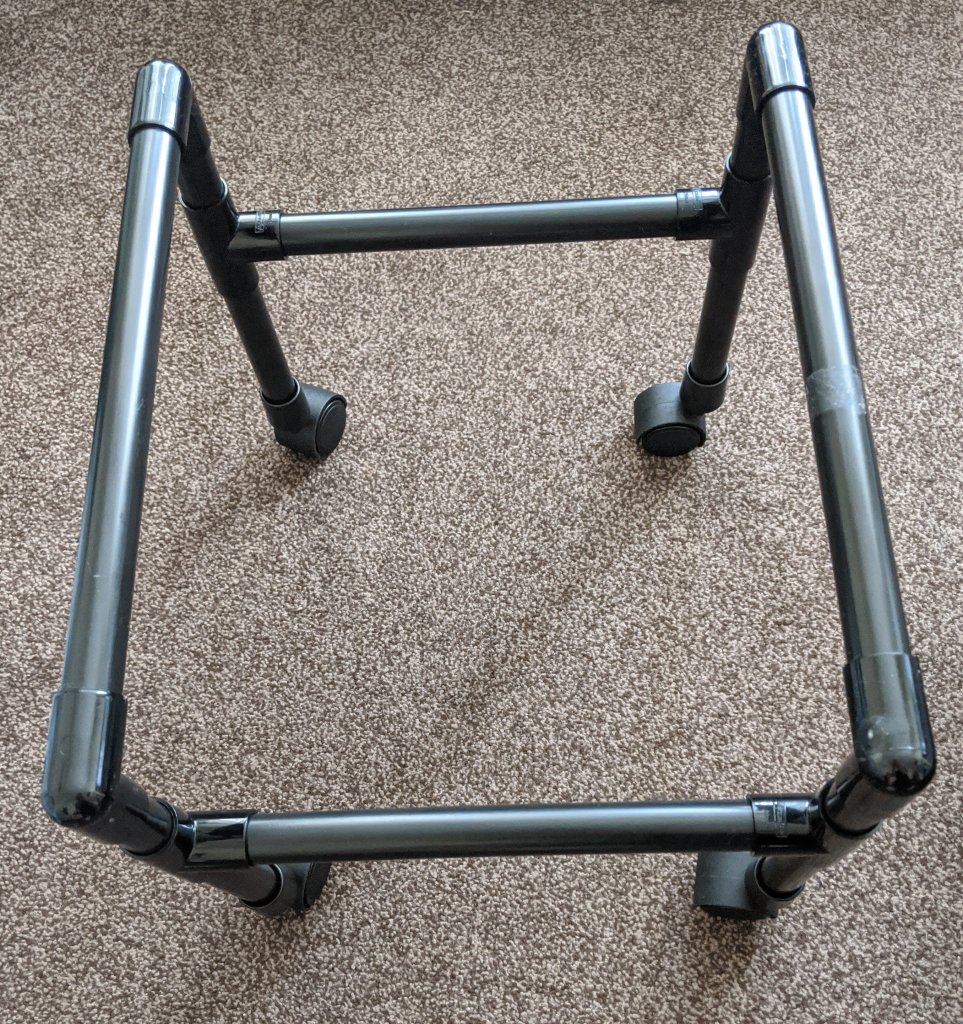
Once all the equipment and components were assembled, I began to measure out the different lengths of pipe I would need to build the frame. I made the back and front bar 25cm long, the four legs 20cm long and the depth 30cm. This, according to the lovely helpful lady online, would fit an average sized chicken comfortably. As I cut each piece of pipe, I used the file to ensure the ends were flat and there were no sharp edges. The legs required an additional step to allow the front and back bars to be dropped down. This allows for better stability. Measuring 6.5cm down the leg pieces, I cut this section off. Each leg was would now be comprised of 2 pieces of pipe joined by the overflow tee.

Clicking all the pieces together was probably the easiest part. Once the frame was sorted, I turned my attention to the wheels. The castor cups sifted snugly onto the legs which was great as I didn’t have to worry about glueing them into place. The castor wheels have a vertical bolt which would go through the base of the castor cup. Using the drill, I made a hole and wrestled the castor wheel bolt into place. To get it to be almost flush was difficult but a handy pair of scissors helped!


Placing the castor cups (with wheels attached) to the bottom of the legs made the frame seem significantly taller and I began to worry that this would be too high. However, I decided to worry about that after I had battled with the fabric sling.

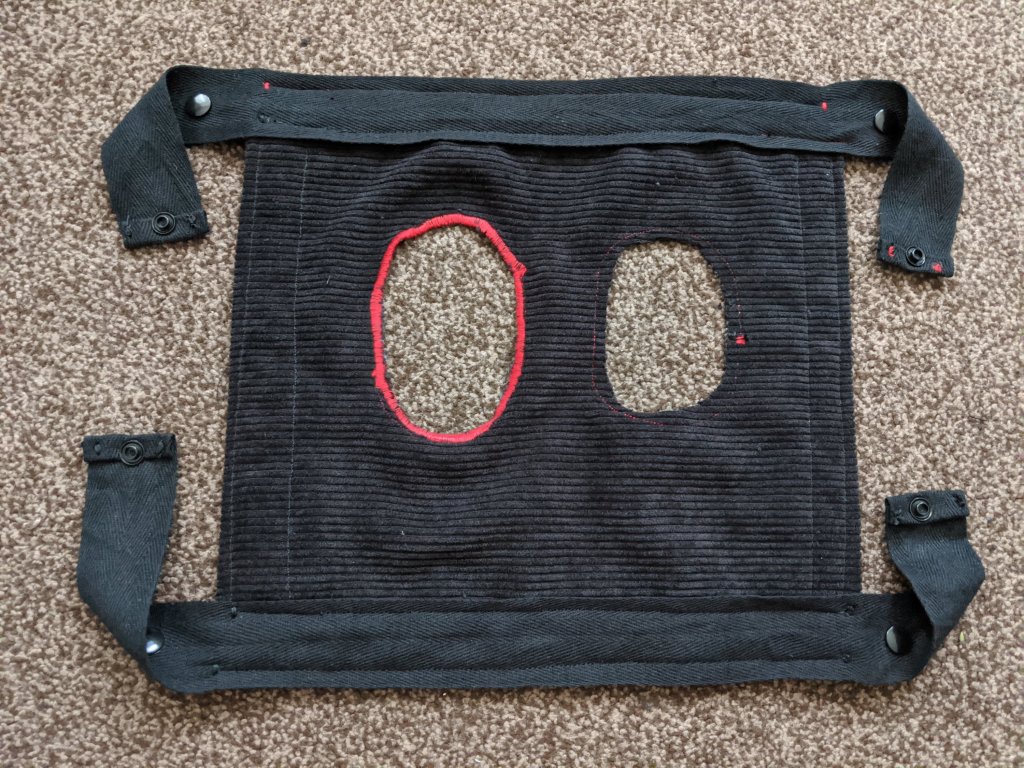
I am not a confident sewer at the best of times. But sewing a square of fabric seemed possible. The first problem was to decide the size of the sling. In a wildly ambitious (and frankly unrealistic) moment, I considered cutting out a semi circle from the back of the sling to ensure Pop didn’t get the sling mucky. Another look at the fabric, and vivid memories of sewing disasters leapt to mind. I abandoned that idea. Using the frame as a guide, I cut a folded layer of black corduroy into a square.

Next, I hemmed the long edge opposite the folded edge. Both sides of the square I sewed together before pinning the bunting tape into place. I left some overhang on each end to form a loop to keep the sling in place. I made sure to use two lines of stitching on the bunting tape as this would hold the entire weight of the chicken. I added a plastic popper to each end of the bunting tape and attached the along to the top of the frame.

I was pleased that it was going well but the most difficult part was yet to come. Cutting holes in fabric is easy but getting the right size, shape and placement would be a completely different kettle of fish. Using a chalk pen, I marked out the shape of the leg holes on the underside of the sling. I cut out the holes before sewing a running stitch around the outside to stop any fraying of the fabric. After this I was stuck. How to stop the fabric fraying? Briefly, I considered using the bunting tape but it was too wide to be sewn flat around the leg holes. Pondering how to fix this conundrum, I glanced at the dial on the side of my sewing machine. There was a zigzag stitch which gave me an idea. Using the zigzag stitch, I could over-stitch the edges of the leg holes. Very slowly, I over-stitched the edges, going around twice to ensure that all of the edge was hemmed fully. I breathed a huge sigh of relief when the sewing was over!

I was rather proud of it ended up! As a final finishing touch, I drilled a hole in the top of the frame to put in the wooden dowel. Using some left over piece of red fabric, I hemmed it and rolled over the end to create a tube. The tube then fitted over the top of the wooden dowel so the flag could fly. Showing it off to my husband, I legged it down to the allotment to try Pop in it.

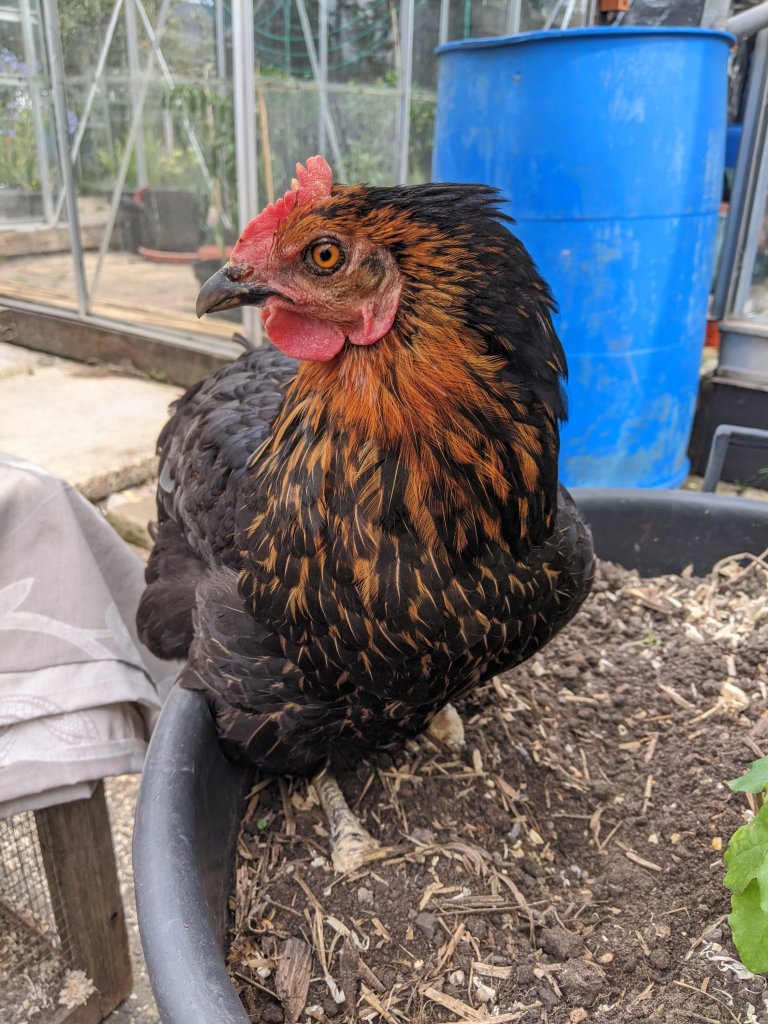
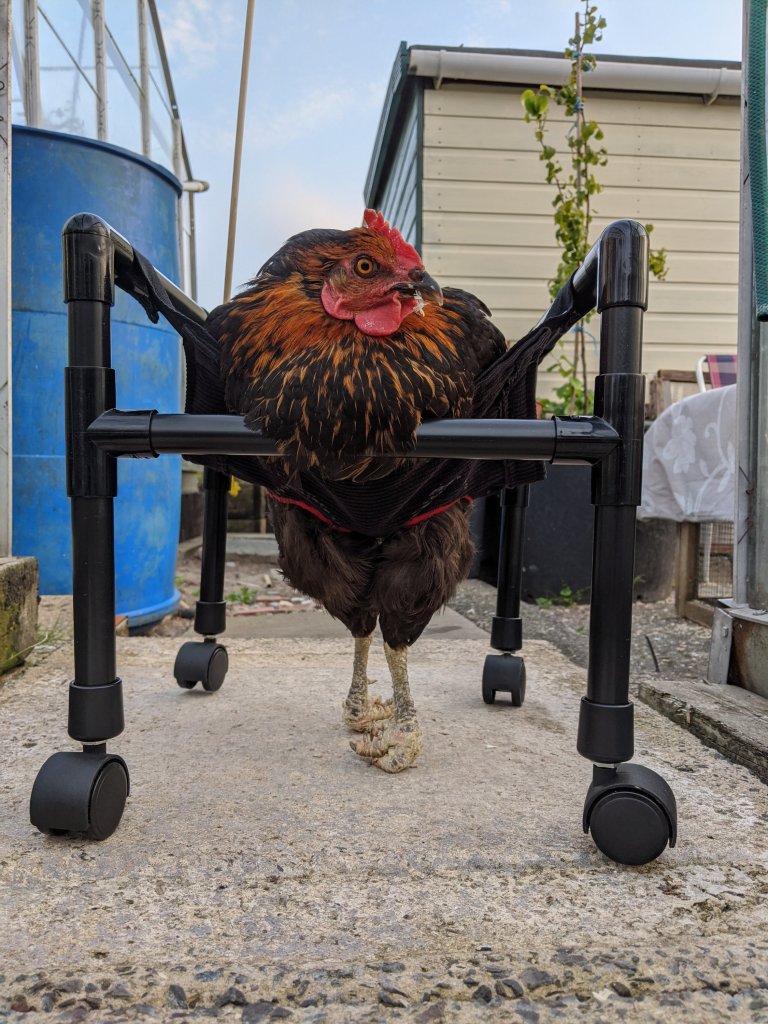
At the allotment, I placed the wheelchair on a flat slab next to our greenhouse before getting Pop out. She didn’t appreciate being held, nor having her legs put through the leg holes. But after a few minutes, she seemed to work out what was happening. Initially, she wouldn’t put her feet out flat, keeping the toes curled in. I helped her get her legs under her and flattened out her toes. I kept having to put them out flat as she curled them as she shuffled her weight from one leg to the other. But eventually, she stopped. Feet flat and looking around, she seemed quite pleased with herself. I checked the height of the frame and tomorrow I will drop it a little lower to ensure her feet are fully on the floor.
After being clicked at, I went to get her food bowl and using an upturned plant pot, put it in front of her so she could eat. What followed was a happy half an hour of digging through the food and having a good look around her. As the sunset began to fade into dusk, I put her back in the nest box and packed away the wheelchair for another day. I plan to have her in it twice a day to help retrain her brain and strengthen her legs.


I never knew chicken wheelchairs were a thing. I’m impressed!
LikeLiked by 1 person
Thank you! It’s just an attempt to help Pop learn how to use her legs again. It may not work but even if it doesn’t, it gives her sternum a break
LikeLike
What love can do!
LikeLiked by 1 person
She is a lovely elderly hen so it’s always worth trying new things to help her out
LikeLike
I think I may have now seen everything 😀
LikeLiked by 1 person
It should help her learn how to walk again hopefully. The reaction I got when I showed the guys on site was hilarious
LikeLiked by 1 person
Any way i can make an order thru you? I tried to make one bit no luck, i cannot find a store that sells pvc, connects and wheels small enough for my month old rooster
LikeLiked by 1 person
If you could measure the length of his legs and roughly how wide and long his body is, I can give it a go. Where are you based?
LikeLiked by 1 person
I will measure him later after work, im in Phoenix, AZ
LikeLiked by 1 person
Oh wow! I am based in the UK but if you are happy to cover postage costs to the US, I will happily send it across to you! Could I have your email please so we can sort out measurements etc more easily?
LikeLike
Yes, its honeeb26@gmail.com
LikeLiked by 1 person
I have tried several times to email you without success. For some reason the email bounces back and says it’s not a valid email?
LikeLike
That is weird, that is my email. What is your email that way i can email you snd hopefully that works
LikeLiked by 1 person
Try thegoodlifecrewe@gmail.com
LikeLike
Hello from Argentina. My duck is not able to walk anymore. So grateful I found this 🙂
LikeLiked by 1 person
Glad to be able to help you! If you have any questions or need any help, please email me on thegoodlifecrewe@gmail.com
LikeLike
Many thanks for this tutorial. I have also made one for our chicken baby.
LikeLiked by 1 person
Happy to help!
LikeLike
What width is all the piping?
LikeLike
It’s standard size overflow pipe – approximately 21.5mm
LikeLike
Thank you so much for listing materials needed, lengths, etc. I’ve been trying to build a wheelchair for my rooster. You made it so much easier. Still struggling a bit with the swing portion but I’m getting there!
LikeLiked by 1 person
If you have any issues with the sling – drop me an email at thegoodlifecrewe@gmail.com and I can give you some pointers ☺️
LikeLike
I’m trying to figure out some sort of wheelchair like this for my duck! I’ve tried a few different things (one similar to this) so far with nothing quite working out enough. My Indian runner duck has dislocated knees from birth (or at least from around when he hatched, he was about a week old when we got him). I’m not sure exactly what dislocated means, but from what the vets said, they seem to be twisted, so his legs criss-cross. His right leg also springs back behind him now, too (after the vets tried splinting his legs behind him to straighten them out). I’d at least like to help get him more practice strengthening his legs and maybe be able to push himself around in the wheelchair eventually to help him walk! But I’d like to try building the chair again but with PVC like you did here, thanks for the post!
LikeLiked by 1 person
I have started my own business, selling customised wheelchairs for disabled birds – if you have any questions, please get in touch via my Facebook page: Poultry Paraplegics
LikeLike
I have a disabled turkey poult that I cannot give up on. Thank you for providing these instructions. Bless you.
LikeLiked by 1 person
Happy to help if you have any questions 😊
LikeLike